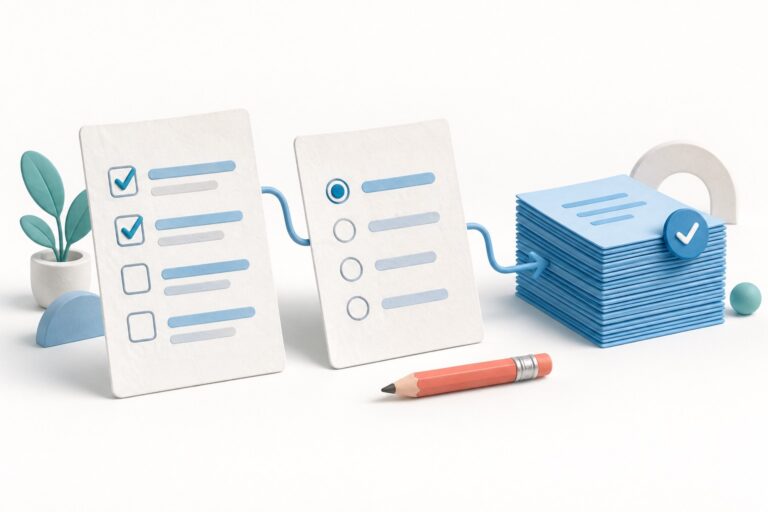
To create a MailerLite welcome email automation, connect your signup form to a dedicated group, use that group as the workflow trigger, and add a welcome email. Check the confirmation process, recipient settings and a real test signup before promoting the form. MailerLite’s workflow instructions cover the basic setup; the decisions below help keep the first send predictable.

This guide uses the current MailerLite, rather than its separate Legacy product. If you are still choosing a platform, start with our MailerLite vs Mailchimp comparison.
Table of Contents
Start with one clear promise
Imagine a small consultancy offering a project-planning checklist alongside a fortnightly newsletter. This is an illustrative example. Its first email should deliver the checklist, explain what arrives next and give the reader one useful action. It does not need a branching sales sequence.
Write that promise on the form and carry it into the email. A suitable subject might be “Your project-planning checklist”. The first paragraph can explain how to use it before a client meeting. Then add a prominent checklist link, a sentence about newsletter frequency and an invitation to reply with a planning question.
Choose a sender name readers will recognise from the website. Ask a colleague to read the form and email together: would someone understand what they requested, where to find it and who sent it?
Choose the welcome trigger
For this example, create a dedicated group named Welcome — project checklist and configure the relevant form to add subscribers to it. If several forms offer the same checklist, send them into this same group. MailerLite describes this arrangement in its lead-magnet delivery guide.
A Completes a form trigger is another option for a particular MailerLite-built form. However, with double opt-in across several forms, only the automation attached to the form through which confirmation happens will trigger. MailerLite recommends group triggers for that situation. See its trigger documentation.
For a once-only welcome, leave group-trigger re-entry disabled. Enabling it allows another entry when someone leaves and rejoins the group, subject to a 24-hour limit; submitting a form while already in the group is not a fresh group join. These rules are documented in the same trigger guide.
Keep this group specific to the welcome offer. Do not casually add your whole customer list just to organise contacts: membership is now connected to a send.
Check double opt-in before building the email
Confirmation and welcome are separate messages. With double opt-in, a new signup confirms through an email before becoming active. New MailerLite forms have double opt-in enabled by default; check the form’s Overview settings rather than assuming. An already active subscriber using a MailerLite form does not receive another confirmation email. The double opt-in documentation explains these differences.
An unconfirmed address cannot receive newsletters until confirmation. You can inspect that status in the Subscribers area using MailerLite’s unconfirmed subscriber guidance. Tell new readers to check their inbox after submitting the form; do not diagnose an unfinished confirmation as a broken welcome email.
Build and preview the first email
- Open Automations and create a workflow.
- Choose Joins a group, select the dedicated welcome group and save the trigger.
- Add a Send email step.
- Set the subject, sender name and sender address, then design and save the email.
These controls follow the current workflow guide. Keep this first version to one message so that you can inspect the whole journey without additional timing rules.
On 16 September 2026, MailerLite’s public pricing table listed Free with up to 250 subscribers, 2,500 monthly emails and three active automations. Check your account’s remaining allowance before activation: other campaigns and automations also use your sending capacity.
Send yourself an email preview from the email step. MailerLite also provides a workflow Test control. Previews help check layout and content, but features including unsubscribe links and dynamic content do not function normally in test emails. See its test-email limitations. A preview arriving does not prove that the form will start the workflow.
Activate without surprising existing subscribers
When activating, MailerLite may ask whether eligible existing subscribers should enter at the beginning, at a selected step, or be left out. For this new welcome flow, choose the option that leaves previous subscribers out unless you have deliberately planned a separate catch-up send. The choices appear in the activation instructions.
This does not mean only brand-new email addresses can ever enter. An existing list subscriber who subsequently joins the welcome group through the offer form can trigger it too, as the lead-magnet guide confirms. Write the message so it also makes sense to someone who already knows your business.
Test the signup journey before promoting the form
Use an address you control that is new to the account, with the workflow active and the form not yet being promoted. Our suggested acceptance checks are:
- Submit the actual form and check the intended group and subscriber status.
- If double opt-in is enabled, confirm through the received email.
- Verify that the welcome message arrives and its resource link opens the correct file.
- Check the email on a phone, including the sender identity and main action.
- Inspect the subscriber’s workflow activity, then record the result and the person responsible for future changes.
In the automation report’s Activity tab, inspect completed, in-progress, cancelled or failed entries. MailerLite’s activity guide explains the reasons shown; failures can include an account subscriber limit or an incorrectly saved email step. Check the recorded reason before retrying. If no entry exists, review the form-to-group connection and confirmation status first.
After the first real signups, repeat that check. If sales colleagues also track these people elsewhere, agree who owns customer status; our guide to CRM with email marketing covers that wider decision. Extend the welcome sequence only when a second message has a clear purpose.
Checked 16 September 2026 against official documentation. Examples are illustrative.